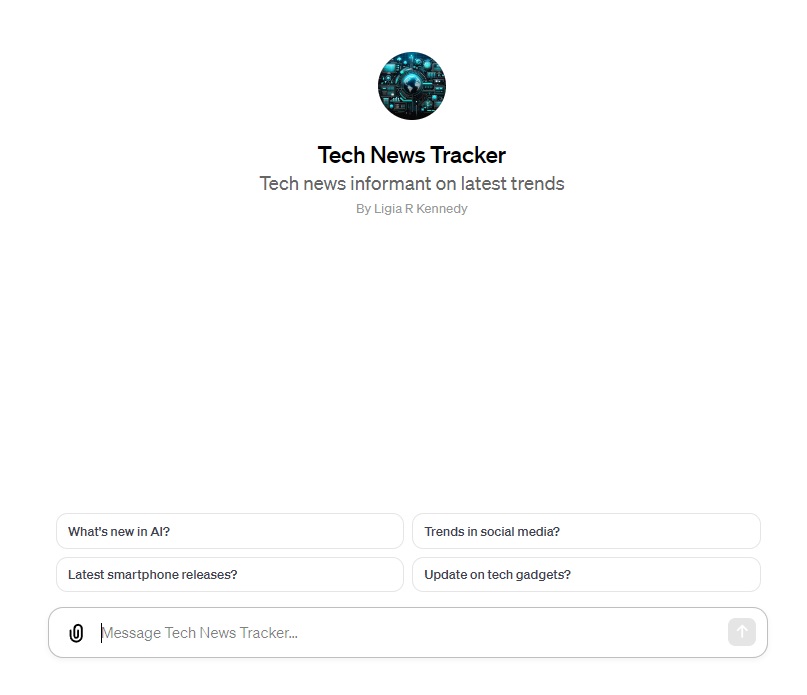
OpenAI made the GPT Builder feature live for all ChatGPT Plus subscribers in November 2019, allowing everyone to create their own custom GPTs without any coding knowledge.
What Happened: If you are tired of using the generic GPTs offered by Microsoft-backed MSFT OpenAI, here's a quick tutorial on how you can use the new GPT Builder feature to create your own unique GPT.
The new GPT Builder goes beyond the custom instructions feature that was launched in July this year.
“Many power users maintain a list of carefully crafted prompts and instruction sets, manually copying them into ChatGPT. GPTs now do all of that for you,” OpenAI said while announcing the feature at its Dev Day event.
With that out of the way, here's how you can create your own GPT.
How To Create Your Own GPT

Before proceeding, note that you will need a ChatGPT Plus subscription to access the GPT Builder feature.
- Open chat.openai.com and log in to your account.
- Click the Explore option in the sidebar on the left.
- Now, click the Create a GPT option on the top.
You will now see the GPT Builder page.
- Enter a brief description of what kind of GPT you want to build.
For instance, you can say something like this: "Make a creative who helps generate visuals for new products" or “Make a software engineer who helps format my code."
- ChatGPT will now return with a suggested name for your GPT.
- Once you confirm the name, it will generate a profile picture for your GPT.
GPT Builder will ask you a series of questions to configure and fine-tune your GPT. Make sure you answer them as clearly and carefully as you can.
Once you are done, GPT Builder will create a preview on the right side of the screen.
- Click the Save button, and you are good to go.
- Once your custom GPT is ready, you can give it a spin and see if it works well.
- If you want to change something, click the drop-down button next to the GPT's name and click Edit GPT.
Check out more of Benzinga's Consumer Tech coverage by following this link.
Read Next: 12 Crazy Things Built In 12 Hours Since The OpenAI Dev Day Announcements
Image Via Shutterstock
Edge Rankings
Price Trend
© 2025 Benzinga.com. Benzinga does not provide investment advice. All rights reserved.
Trade confidently with insights and alerts from analyst ratings, free reports and breaking news that affects the stocks you care about.